I was asked to make a bare wood steam engine model look like an existing diesel locomotive owned by the same company. It will apparently be used in a race at a business meeting. I started to do research on getting metallic gold decals made, but decided that since it would probably be in the public eye for a short time; I would instead use photographic prints frm the local Wal-Mart.
Here’s the real one: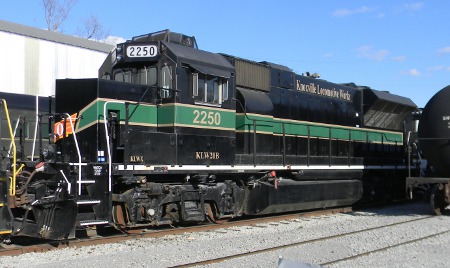 The first thing I did on the model was to sand it.
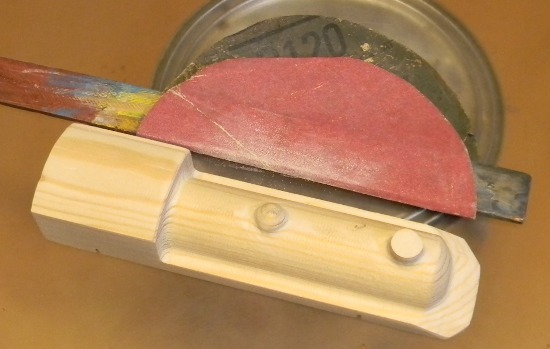 Next, I gave it a coat of Shellac. This is an ancient, but versatile product, made from bugs. On this project, I used it to seal the wood, so I got the unwaxed version, sold as sealer. By sealing, I mean to stop other products from soaking into the wood, not to seal out water. Shellac is very fast drying, brings out wood color nicely, and is compatible with a lot of top coats.
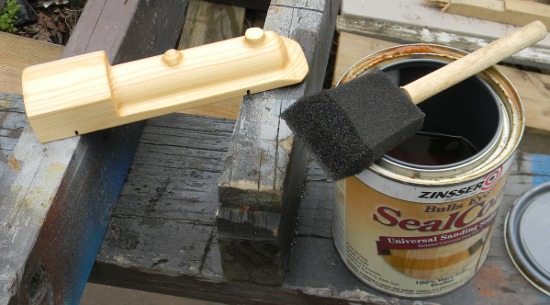 The sealer will lock any errant wood fibers in place, making the easy to sand, so I sanded it again. Then I realized I could speed up the job by mounting it in a way that let me work on all sides at once.
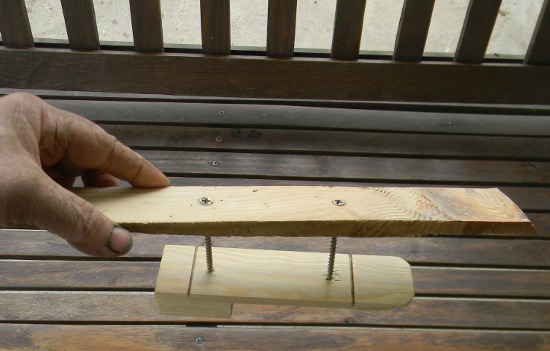 Next, I sprayed on a coat of sandable primer. This is one of the final stages in an automotive finish. It allows one to fill small scratches and imperfections.
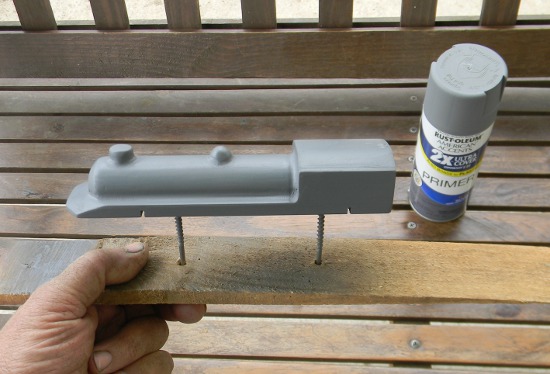 Then I sanded it again, but my 400 wet and dry paper was too aggressive, so I had to prime again. This time I used fine steel wool to treat the primer. All pieces of dust must be removed, and microscopic scratches must be put in the surface, for binding the next coat.
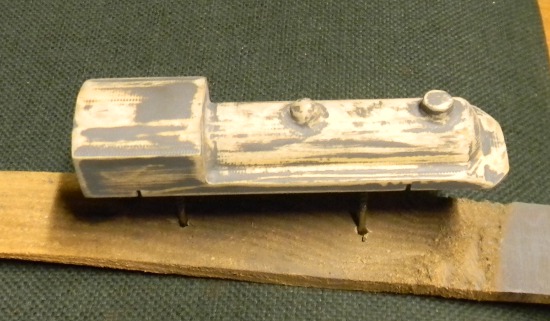 After this, I painted it black. As I said before, I went with a more pragmatic route for the graphics. Here’s a couple tips: Since the paint was gloss black, I made sure the print was also. I used a black felt marker to make the cut edges of the photo paper black. That’s very important; other wise it looks like cheesy cut outs. I cut near, but not exactly at the edge of the shape I was cutting out with a hobby knife. There’s so much contrast business going on visually, that people won’t be drawn to the actual cut, which is like an outline going around each graphic. A nice little cheat of sorts, especially around things like the lettering. You can see these cut edges at some angles, but I think that overall, it will be approved of.
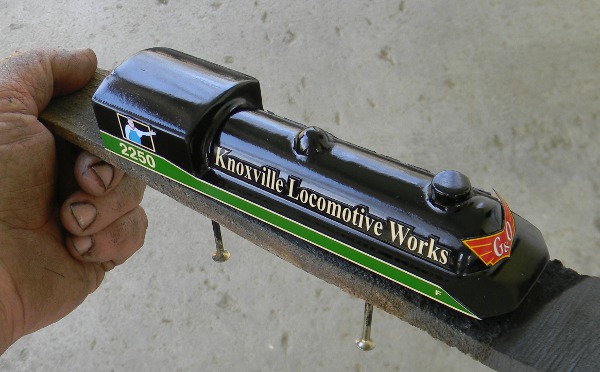
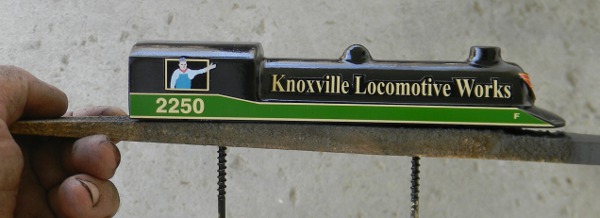
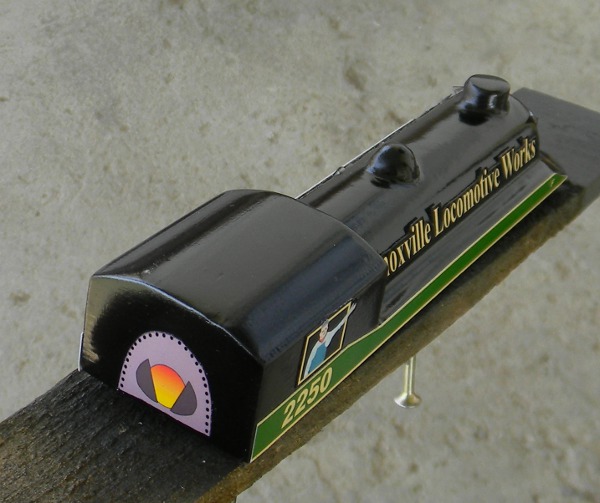
 I make all the graphics as SVG vector files, then export them as one 8 inch by 10 inch PNG file, at 300 DPI. That’s basically making it into a reasonably high resolution picture that can be printed as a photograph. Here are pictures of the finished job: